Gears & Gadgets: The Cable Guy, Part II
by David Cohen, Maryland National Capital Park Police Reserve Unit
In the previous Gears & Gadgets (IPMBA News, 2020 Board Issue, Vol. 29, #3), I discussed the procedure for cleaning and lubricating cables. If, in the process of doing so, you discover that a cable is frayed or damaged, the safe bet is to replace it right away, rather than have it fail on you in the field. While preparing for that column, I found damaged cables on one of my bikes, so it was time to replace them.
Like most things bicycle-related, there are many choices for replacement cables. Some cables are Teflon®-coated, some come in a premade cable/cable housing configuration, and many are available as stainless-steel wiring. For the public safety cyclist, the standard stainless-steel cable is more than adequate for the task. I would, however, recommend purchasing a reputable name-brand wire, such as Shimano, as opposed to one of the bargain brands. In my experience, the less expensive stainless-steel cables tend to fray far more easily than the name brands. Over the long term, it is worth the extra money.
Changing out the cable is fairly straightforward. Derailleurs should be set to the smallest cog: highest gear in the rear, lowest gear on the front chain rings. The reason is that the derailleur cable will not come out of the shifter housing unless it is in this position. Sometimes the shifter housing has a small plug that needs to be removed prior to cable replacement. The access point for the shifter is generally on the same side with the shifter levers. Look around – you’ll find it.
With rim brake cables, unfasten them as if you were changing a tire. There is no need to do anything out of the ordinary with cable-operated disc brake cables. On the lever end, line up the brake adjusters on the handle so the gap on each one lines up with the cable gap on the brake lever. Once the pinch bolts are loosened, you can pull on the brake cable housing at the lever to expose the cable. After the cable is pulled through the gap, it takes a little bit of jiggling to get the cable end free from the handle. And, obviously, if your bike is equipped with hydraulic brakes, do NOT loosen up the hoses!
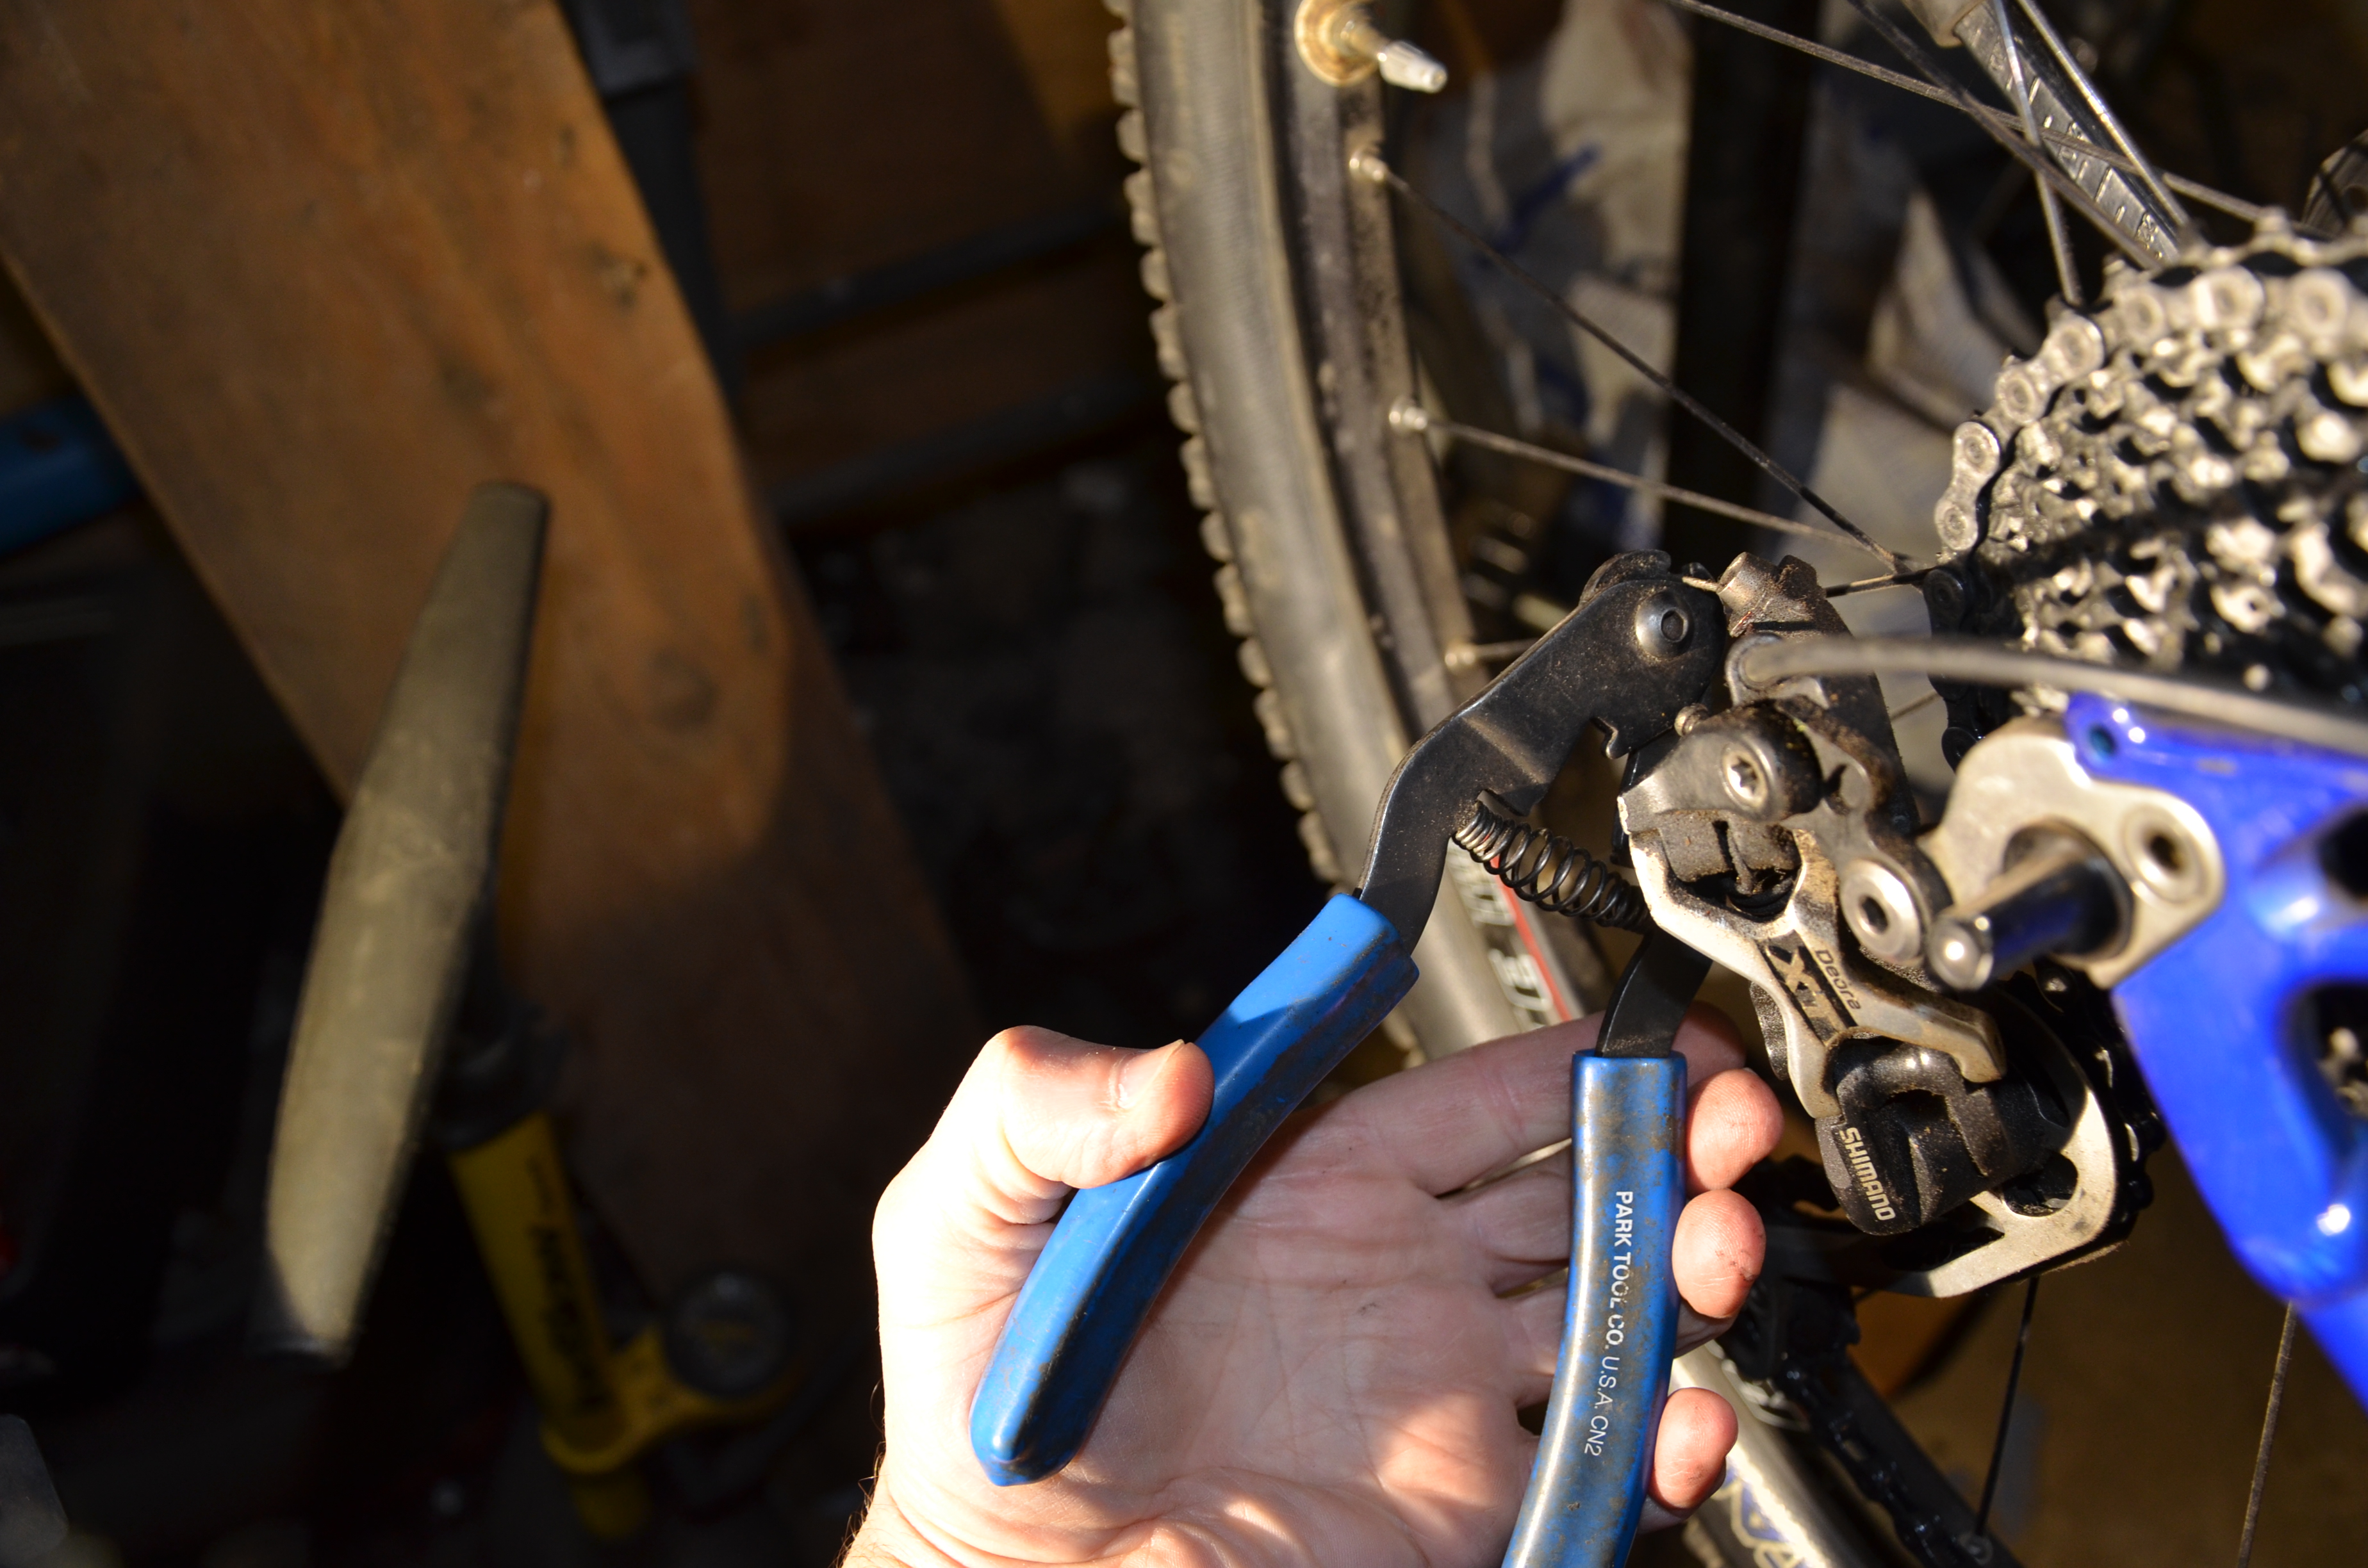
If you can remove the cable crimp at the end easily, go ahead and do so. Otherwise, the cable will need to be cut. A pair of wire snips will work, but the Park Tool CN2 cable snip will give you a cleaner cut. With the cable crimps removed, loosen up the pinch bolts. Most bikes have a point along the top tube or down tube where the cable is exposed. From this point, start pushing the cable towards the front of the bike. The end of the shifter cable should start coming out of the housing. If nothing happens, check your gear position. Once the end of the shifter cable comes through, you can start pulling the cable from that end. You may need to go back to the back end of the cable to get to go through the various bends and turns. If the cable is frayed or flattened, you will have to snip the cable to get it to go through the various housings.
As the cable comes through, keep tabs on the location of each of the cable housings. Some cables have rubber bumpers that go over the top tube. Usually, those should be replaced, but if they are in good shape, they can be reused.
Depending on how old the bicycle is, it may be necessary to replace the cable housings if they are clogged or damaged. We’ll cover that in a future G&G column. For now, we are going to reuse the cable housings. Shooting some cleaner through the housings will usually knock away most of the detritus. My preferred cleaner/lubricants are Finish Line chain cleaner/lubricant, and Seafoam Deep Creep. Both of these are equipped with a straw attachment that you can put at the end of the cable housing and shoot the cleaner/lubricant through the housings. Sometimes, however, it may be necessary to remove the ferrule (end cap) at each end of the housing in order for the straw to properly fit. Typically, they will come off by hand, but sometimes they need a bit of help. Using a pair of pliers, you can gently wiggle off the ferrules. If you squeeze too hard, you can distort the housing, which will then bind on the cable. Or, you can get yourself a jar of ferrules and just plan on replacing them. Most bike shops and online bike stores sell a gross of 50 fairly inexpensively.
After the cable housings have been cleaned, it is time to install the new cable. Start running the cable through the shifter. It should come out the opposite side. Before you start putting the cable through the housing, pull on the cable and operate the shifter. If it is shifting, you put the cable in correctly. If the shifter is not responding, the cable went in incorrectly. Remove the cable and try again. (Yes, I learned this the hard way!). One by one, replace the cable housings, working your way from front to back. Sometimes you have to do a bit of jiggling with the cable to get it through the entire housing. Secure the cable with the pinch bolt.
Brake cables should also be run through the levers and adjusting bolts first, then through the housing, and eventually to the pinch bolt on the brake.
At this point, you will probably have a huge amount of extra cable. It is okay to have some slack, but too much can get caught up in other components, causing the cable to fray. Leave about six inches (15 cm) of slack until adjustments are made, less if there are clearance issues. Once the components are dialed in, cut the slack to about 2 to 3 inches (5-8 cm) past the pinch bolt. Attach a new cable crimp to the end of the cable. The Park CN-2 has a crimper which works nicely to secure the crimps. Some cables will come with crimps; otherwise, you can pick up them up by the gross at your local bike shop or online retailer. They do come in handy. Keep in mind brake cables and derailleur cables may look similar, but they are two different diameters. While a brake crimp can work on a derailleur cable, it doesn’t work the other way around.
Generally, cables will stretch to some degree after a few rides, so it may be necessary to make further adjustments with the barrel adjusters. Enjoy your smoother shifting and/or braking!
About the author: David Cohen is a 12-year volunteer with the Maryland-National Capital Park Police. When he isn’t riding or tinkering with bicycles, David can be found tinkering with vintage cars or World War II airplanes. An avid historian, David enjoys researching and writing as well. He can be reached at onyxsax@aol.com.
Gears & Gadgets is a blog written by David Cohen #1116. It features various repair tips and tricks that David has picked up in nearly 25 years of cycling, including 12 years of public safety cycling. Gears & Gadgets will also periodically review some of the latest “gadget” items of potential interest to public safety cyclists. The advice and opinions in this column are solely the author’s and should not be interpreted as IPMBA mandates or recommendations unless explicitly stated.
Photos courtesy David Cohen.